A few weeks ago I was detailing the FJ with Meguiar's Ultimate Quik Detailer after washing it and it looked almost new. I noticed that the black plastic (around bumpers, wheel wells, and doors) was looking quite faded and worn. I bought some Meguiar's Ultimate Black Plastic Restorer and it did the trick. The plastic pieces looked almost brand new. After a few torrential downpours and driving in the rain, the black pieces still looked new. There was some noticeable streaking after the first rain, but after a few more, the streaking was not there. It might have been that I used too much and didn't work it in very well. But now it looks good as new.
Right side restored. Bumper not done yet.
All cleaned and detailed.
While restoring the black plastic, I noticed that the window trim on the outside of both doors and one of the half-doors was coming apart. I've never had anything like this happen on other cars that I have owned and learned that the FJ's seem to have this problem. Since I did not want any water leaking into the door, I decided to order a new set of window trim pieces for all four doors. Taking them off was fairly simple. I used a screwdriver, which I had taped with masking tape, and began with the larger door trim. There are only two places to pop the trim from the brackets that held them in place. The one in the front was easy to pop off, but the plastic piece fell into the door. The same happened with the other side. Since the new trim already had the bracket, I decided that I was not going to take door apart to find it. I don't think this will cause any issues with the door since the piece is quite small. Once the brackets were taken off, it was hard to pull on the trim and it began tearing. It seems that you have to push it towards the window and pull up to take it off. There are a couple of places on the inside of the trim that sticks out to hold it firmly on the door. Once I had a nice hold of the window trim, I pulled it up while pushing in slightly. There were about three or four popping noises and the trim was off.
The half door trim was easy enough to take off. There are three plastic brackets spaced evenly apart, which came right off with the screwdriver.
Once the trims were removed, I cleaned up all the dirt that had accumulated and used touch up paint on any places where the paint was rubbed off during the removal process. Once dry, I began placing the new trim pieces on the windows. This was very simple to do and just required aligning the brackets with the holes and pushing down on the trim. It took about 2-3 mins to place all four trim pieces on the FJ and overall took about 20 mins from start to finish.

Front trim removed

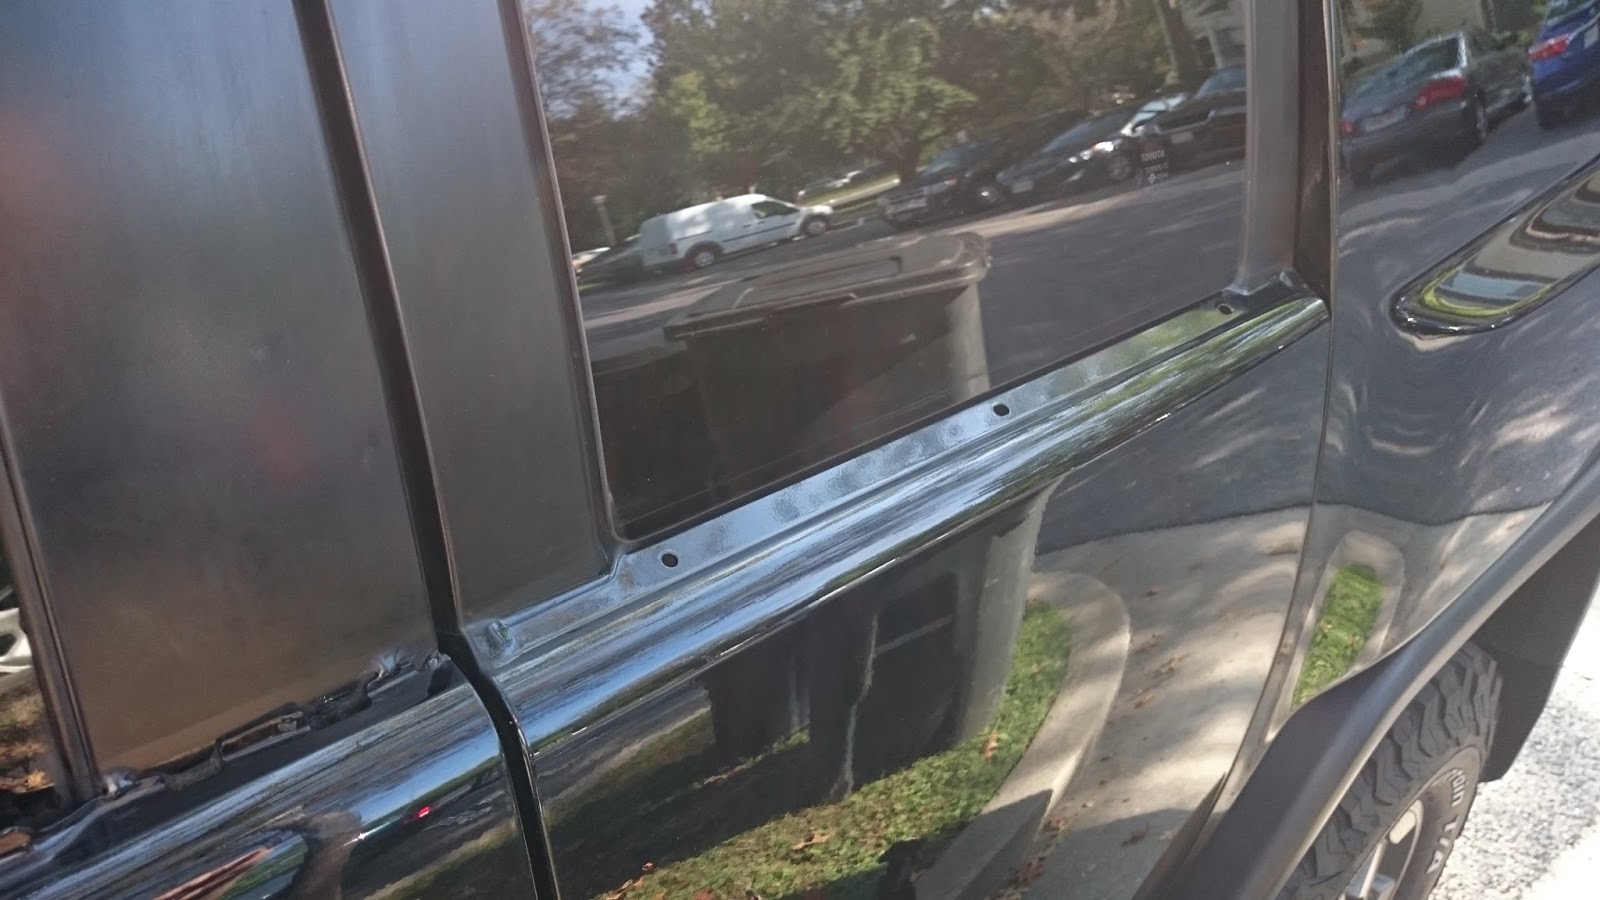
Rear trim removed
Trim pieces with broken parts and one trim with no issues.
One thing to note is that the trim pieces are different for both sides. Even though the rear half window trim pieces look exactly the same, they come with different colored plastic brackets. Pink for the driver side and white for the passenger side. So make sure that you don't order the same part number twice for both sides. Each trim piece has their own unique part number.
After replacing the window trim, I installed a set of side visors. Since I have been driving earlier in the mornings, the sun has been lower and has been an issue with visibility. I bought some side visors that do not come standard on the 2007 models and installed them as I did in my silver FJ (see earlier post on how to modify and install them). Since I had done it before, it only took me 10 mins to modify and install them.